There are a few things that you will need before you start:
Needles: Your
best option is to get needles designed for heavy materials like leather. They are stronger and the
tip is pointier. This will make it easier to sew your patch without much overexertion.
Thread: Usually
you can get needles and thread as part of a sewing kit. However, that thread may not be the strongest. If you can, try to
get some nylon thread since it is stronger than cotton thread. Regardless, you
should try to get it in the colors of your patches that way it will look as
seamless as possible.
Sewing or Safety Pins: This
helps to make sure that nothing moves around as your sewing.
Thimble
(optional): Yeah, that thing in your Monopoly set actually has a purpose. It is so you can push your needle through
your fabric without hurting or stabbing your fingers.
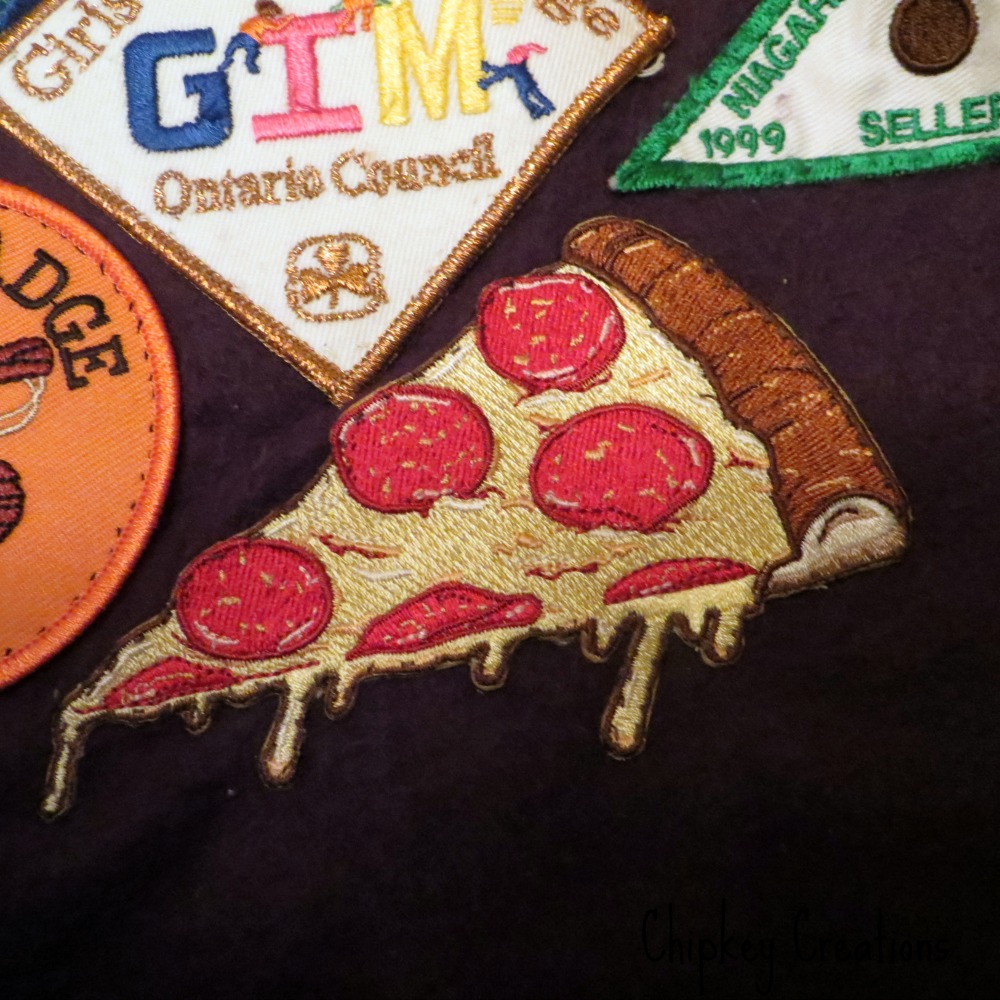
Step one: Figure out where you want your patch to go. I have a patch blanket that I've sewn all of my patches too. My roommate got me this awesome pizza patch and decided that it fits nicely beside the slope of an old girl guides patch. If you have an iron on patch (if it has a plastic shinny back its most likely a iron on), iron it into place. Most iron on patches are not very permanent and they will start to peel off in no time. That's why you want to sew it in to place as well. This also depends on what type of fabric you want to sew your patch on too. Some cottons are easy to iron on, but felts or blanket fabrics are not.
If cannot iron your patch, you will have to pin it into place with either safety pins or sewing pins.
Step two: Cut
your thread. You do not want to cut it too long or you will get it in knots as your trying to work. Just over a foot (0.3 m) will be good length. If you are
sewing a really big patch, you will have to sew it on in stages. If you are using really flimsy thread, I
recommend doubling up to give it some extra strength, so it does not break on you.
Step Three: Tie a
knot on the end. It seems really obvious but a friend of mine sewed a bunch of patches and forgot to knot them and they fell off. Also make sure that the know is bigger when the thickness of your needle or it will pop through your fabric when you try to sew it.
Step Four: Now
the fun begins. With the right side facing you, poke your needle into the edge of were your patch will sit. You'll want to make sure your know will be hidden by the patch.
From the wrong side of the fabric, poke the needle back into the fabric
and into the edge of the patch and pull. The knot you made will be on the right side of the fabric but as you sew, it will be covered by your patch making the wrong side of your fabric look nicer.
Step Five: Poke your needle through the patch, a few
millimeters from where you poked through, bring your needle back through the patch and fabric. Bam!
You've made yourself a stitch. On the wrong side of the fabric poke your needle through the fabric and patch a few millimeters from the previous stitch.
Here is a close up of the patch after a few stitches. I tried to make sure that my stitches were in the brown outline of the pizza to make them as invisible as possible. I also tried to keep my stitches small and even.
As you pull your thread make sure you do not get knots or bunching like you see here. You may get caught up in the look of the right side of your fabric but make sure you check on the wrong side of your work to ensure it looks good too.
Step Six: Now continue with your stitches around the patch until you get back to where you started. Try to keep your stitches as even and as small as possible. It will look nicer, but smaller stitches require more time sewing.
Step Seven:
Knot the thread as closely to the fabric on the wrong side as possible and cut off the
rest.
On wrong side of fabric poke you needle as shown above and wrap your thread around it and pull your needle through, making a knot. Cut away the extra thread.
And you done!
Now you know how to sew a patch, do and decorate all of your belongings with patches.
If you have any questions you can put them in the comments below.