Tuesday 31 December 2013

Dying Yarn with Kool-Aid (Tutorial)

I've slowly taken up spinning and I've got lots of fiber hidden in my house and I like the idea of making your own yarn and having control over the process. A lot of the fiber you can get isn't dyed. A cheap way to try drying without committing loads of money is using Kool-Aid.

I've tried it and its works really well.  It makes your house smell awesome and it uses items found in your kitchen. The down side is that it does take a couple hours to do. 

What you need:
-Fiber ( Use organic fibers like wool, avoid acrylics or plant base fibers like hemp or bamboo)   
-Dish soap
-A few packets Kool-Aid
-Some salt
-A pot 
-A Hanger   

Steps:

1- Get your yarn, I'm using some wool I got at a farmers market over the summer.

2- Add some warm water into your pot enough to cover your yarn a couple drops of soaps, just enough to get a little bit of bubbles .


If your shove has a warming plate, put it on there for 30 minutes. If you don't that's completely fine.  All you're doing in getting ride of the dirt and grease that's on the yarn.  It takes half an hour to make sure that it gets in all the crevices of the yarn.

3- Once that is done, take out the yarn and remove excess water, make sure you don't twist it may cause some felting and that's not good. 

4-Empty you're pot and fill it again with some warm water and add some salt.  This raises the temperature that your water will boil at create a more even dye. This is the same idea as when you add some salt to water when you boil pasta. 


Put your yarn in and gently push it down into the water, ensuring that it is full submerged. 

5- Now this is the fun part. You are going to add your Kool-Aid. I picked some Tropical Punch and Ice Blue. Four packs in total, the more fiber you have the more packet you will need and the brighter the color.  


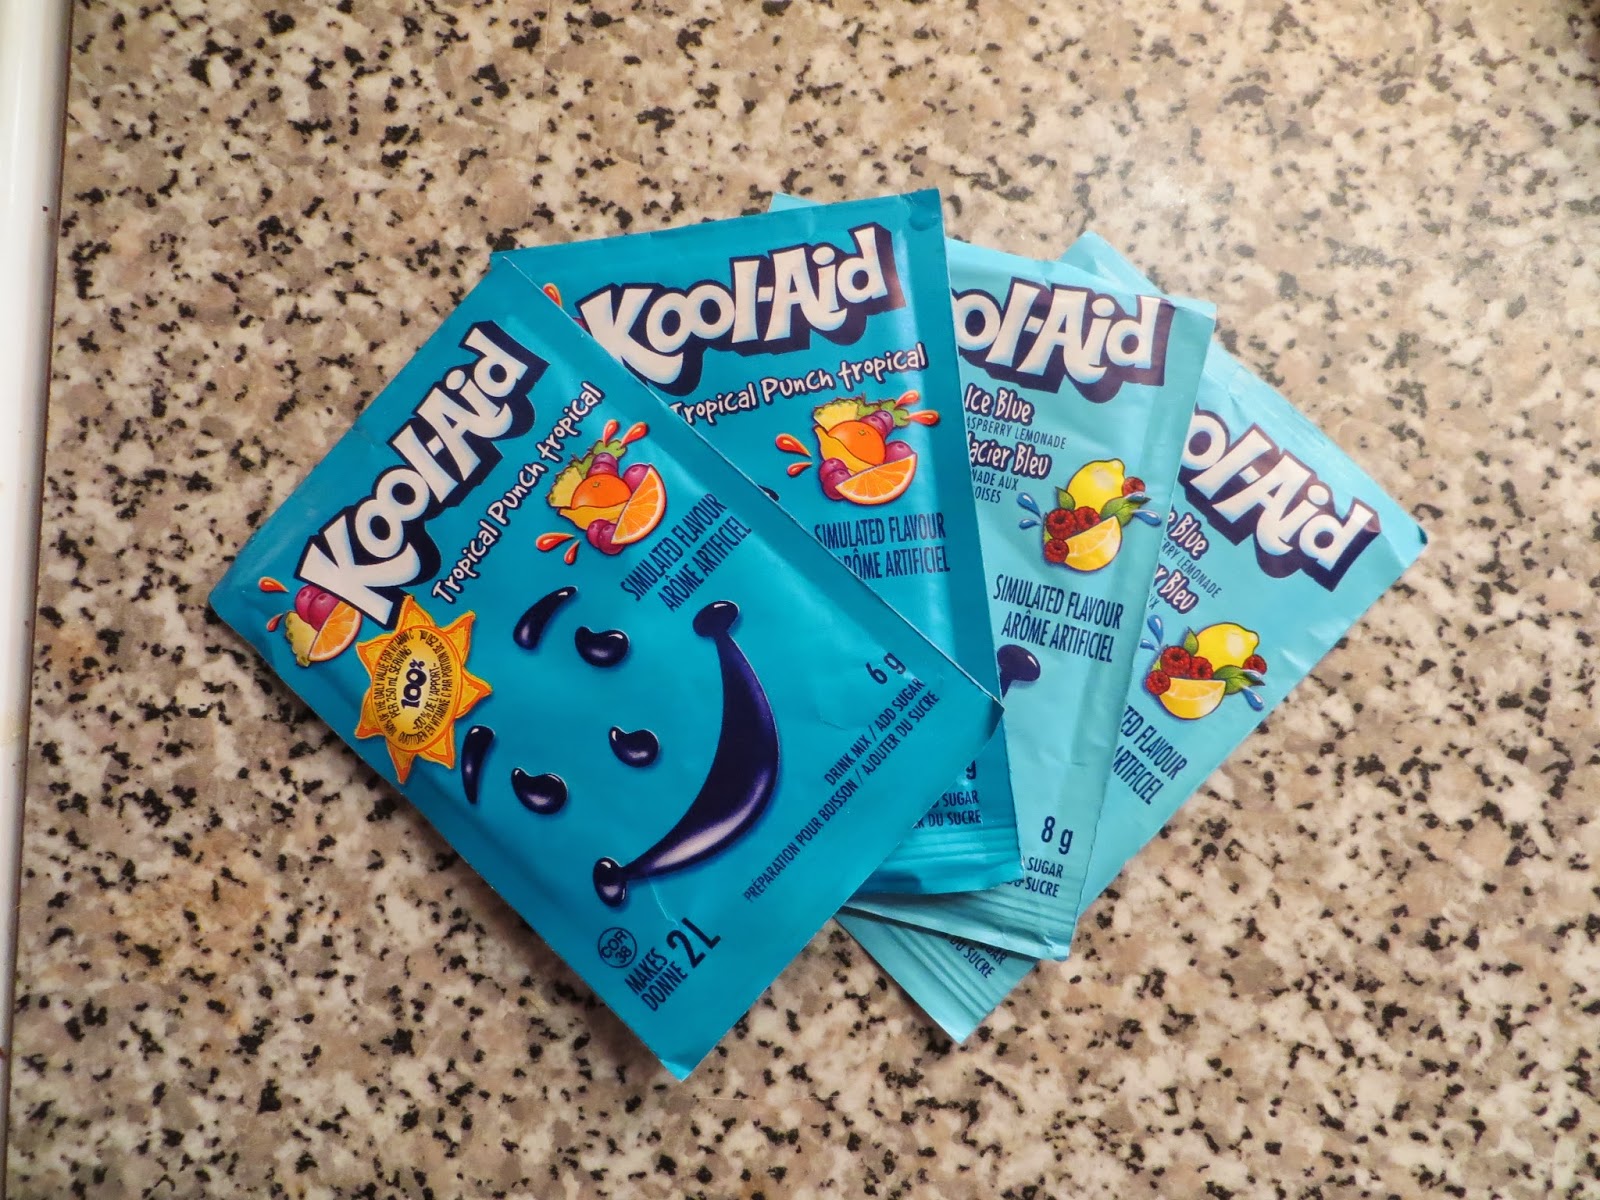
I was planning on having a nice light blue/dark blue omber, but fun fact Tropical Punch is not dark blue. It's red, as shown below.

If your working with one color add the Kool-Aid in mix in till all the crystals are dissolved. 

If your working with more then one color it is a little harder because you want to dissolve the dye in half the water without moving the water to much. As you can tell I didn't do a perfect job an the blue mixed in with the red and made more purple.   

  
6- Bring your water to a gentle boil and simmer for about 30 minutes or until the water is clear.  If your working with more then one color it is really important to have a gentle simmer that wont mix the water to much. 

7- Turn the heat off and let sit until it is room temperature. Once that is done take it would and rise any extra dye under a tap.  In my experience very little dye washed out, but there is probably more that would wash one in red and purple dyes.  

8- Put on a hanger to dry

9- Enjoy!!!!!


    Ask any question in the comments and I'll try to answer them as best as I can.

Thursday 1 August 2013

We're OK!

Hello,

I hope that you're enjoying your summer.  The weather the past couple weeks have been perfect and I've been loving it.  Although I haven't been spending as much of outside I would like, but I'll change that before I go back to school.

 When I was with some friends I saw Monsters University.  Which if you haven't seen, you should, it was amazing!  Pixar never fails to amaze me.   After seeing it I wanted a Oozma Kappa sweater like the one Squishy wore in the movie.  It was one of the first things I told my friends as we were leaving the movie theater. Yeah, my knitting nerd-ism was showing in that moment.

We're OK! We're OK!
 
I thought I would make it, I had the colors, but in a cotton/ bamboo mix.  The down side is that it's a really light weight and I wouldn't have enough for a sweater so I decided a hat would show my Monsters University love just as much.

I used a awesome chart from The Knitting Soul, and started of on the hat.


The colors are brighter in person, but I placed the logo to high so the cute little horns on the O are hidden in the folds in the decreases on the top of the hat. Which makes me a little sad. 

This was really my first attempt are color work.  So for that it's not bad, but over all I'm a little disappointed with the results of the hat.  I was hoping for something a bit more dramatic but it misses that.   Oh well, I still want to make the sweater but I'll have to get some thicker yarns first.

That's pretty much all for now. 

Byeeeeeee


Wednesday 17 July 2013

My first show, Broken Arts Fest 2013

Hello everyone,

So I mentioned in some previous posts that I was going to be a vendor at a music/arts festival in Oshawa.  It went down last weekend and it was awesome.  The weather was prefect. The music was great and I was able to met some amazing people and sell some of my stuff.

Here are some pictures from the day:

Setting up in the morning 
One of the stages for the bands 


Me and my booth all setup 


So I think I learnt a lot from the experience, I wasn't really sure what to expect.  I had never been to this particular event before so I wasn't sure who would be coming and stuff like that.   But I was able to sell enough to get back the price of the space which I think is the most you can ever ask for.   


There might be some things I would change if I were to do it again, like I was pretty close to one of the stages which made it hard to hear what people were saying at times.  So I would do differently for that. 

But over all it was a great day, I was glad that I did it. 

Wednesday 10 July 2013

The Pintester Movement V. 2.0 - Arm Knitting

Helloo,

As the title of the post suggests, this is the second installment of the Pintester Movement  For the people that do not know, its a event done up by the Pintester, Sonja Foust.  Where we take our chances with the weird Pinterest pins that seem a little far fetch and see what happens.  Which is what Sonja does on her blog all the time and it's fantastic.

Last time, I sorta proved that you can transfer weird monster designs on to a mug and porcelain pen it over, and voila, a sharpie mug that actually lasts.

This time I shall be trying arm knitting, which sounds a little weird.  It claims that you can do a scarf in half an hour.  I saw the pin floating around pinterest, but I paid it not mind.  The Pintester herself tried it a few months back.  But it didn't work, but I think it was mostly due to the fact she didn't know how to knit before trying the pin.

So here me trying Arm Knitting.... Wooopyy


I found some yarn in my stash that would be suitable for the job, then I sat down on my floor.  Looking at my yarn I was sorta rethinking this whole thing, it's 30 something degrees out  (Celsius, or it would have been really inappropriate to be wearing shorts and a t-shirt), and working with super warm yarn and I didn't want sweaty arms.  But I was determined to try this thing.     
Pile of yarn?

 Next was the casting on.
Why you tighten your slip knots (heehee) 


I got the slip knot done and on my arm, I watched the video that lady posted on her site on how to cast on, I didn't like it, so I just sorta fumbled and tried to cast on the way I would if I had needles but it was a little weird, defiantly needing getting use to.  But I got it eventually.  


The actually knitting part, wasn't as bad as I expected, you just bring the yarn thought the loop you made and stick it on the other arm.  Makes totally sense, right?


I tried taking a picture of the process for you guys, but that failed, as shown above. So no selfies when you try to knit, remember that kids.


I was able to survive past the first row without to much of a fuss.  Which I was supper happy about, I didn't lose a stitch, with was my biggest worry I had, because everything is kinda loose (that's what she said), and you kinda get lost (she said that too).  


So I just tried to awkwardly keep knitting, it was really hard to keep the tensions even when you where doing it, making the knitting really uneven.   I was doing this I kept think, man  this would be a great fishing net.  Not sure where that idea came from, since the last time I pretended to try fishing I was 8.  But I rolled with it.  


After about twenty minutes I binded off and this is what I got.


Me trying out the "scarf"

After I was done I didn't really know what to do with this awkward pile of knotted yarn I had, so naturally I just threw it on all my pets.


Tell me who wore it better, cat or dog. 


So technically this pin works, you do get a thing that is long enough to be claimed as a scarf.  But its sorta weird looking, and I personally with never wear it.  But tell me what you guys think down below.


So don't forget to check out the original pin here: http://www.simplymaggie.com/arm-knitting-how-to-updated
Check out Sonja's version here: http://pintester.com/2013/04/arm-knitting/
And check out the rest of the Pintester Movement stuff:  http://pintester.com/category/pintester-movement/

Zoe


Thursday 20 June 2013

Stuff That's Done and Works in Progress

Hello my pretties,

I have fabulous news, I sold my first Etsy item last week. It was a cute penguin pillow I mention briefly here, when it was still a work in progress.  But this is what it looked like ones I was done.
Say hello to my dog
 

I've been a busy bee for a pass couple weeks.  I'm trying to make an inventory for the Broken Arts Fest that's happening July 15th, where I will be selling stuff.  If I have any readers from the Toronto/Durham area, they should come and visit. It should be a fun time, with lots of live music, vendors and I think there's food too.

I also was busy over the weekend, Taylor Swift was in Toronto and I went to see her with a couple friends, and it was very fun.  My friend Olivia was wearing one of my dresses, which looked awesome on her, and she said that she's been getting compliments for it.

Woot Woot Dress 

One of the better pictures I got of Miss Swift 

So now as the title mentioned there are some works in progress, I'm hoping that I will have them all finished by July. 


This is a coffee cup cozy, to honor the local NHL team, the Toronto Maple Leafs. Although not the greatest team out there, it has a most loyal fans and I hope I don't get any hate for dissing them.   The cozy still needs work, because the leaf doesn't pop out and it just looks a little off.  But I think I'll redo it but knit it instead of crochet. 


Next is some paper necklaces I've been working on,  probably the most time consuming project I've been working on. Mostly because there are a lot of steps involved like cutting the paper and getting it all ready.  
Before 

After
That's what it looks like once I'm all done, the paper comes from a old mountain biking magazine of my fathers.  So instead of recycling it, I'm repurposing it.  Save the earth and all that.  


This is a picture of some my work space, it's looking a little messy, I know and it has like three projects going on it.   

March of the Penguins 
Lastly here's some picture of some penguin coffee cup cozies I made.  After finished the penguin pillow I felt in a penguin mood and came up with them.  There's going to be a pattern for it soon, I have it written out but some editing is needed at this point.   


So that's all for now, 

Much Love
Zoe

Saturday 8 June 2013

FO Friday

The past week has been pretty exciting,  I finished my entrelac cowl that I started during reading week, I thought it would finish up the red and black yarn that I got last year,  but I still have 1/2 a skeins of each color left.  I got 5 skeins of each color for 5$ at a tent sale, and it's been in 5 projects.

My cowl all finished up

So as mentioned in other posts I did the cowl to go with a hat and mitten set that I did over Christmas break.  I'm looking forward to colder weather where I can wear this without feeling like I'm going to faint from over heating. Oh the wow's of summer.

The whole set


An other finished object I did is a super cute winter bonnet ( the link is to the pattern).  I thought it was so cute but I modified the front band to have a more Celtic cabling feel to it.  

I'm calling this my traveling bonnet, because most of it was done when I was traveling from one place to an other.  I did the band when I was going to North Bay a couple weeks back and did most of the rest on a five hour train ride from Toronto to Ottawa last week.   I makes it sound like a travel a lot but trust me it's not the case. :P


I might have done it a size to big, which is rare for me because I have a really big head,  I find buying hats really difficult, (maybe a reason my I make so many for myself).  But over all I love it, it's so bright but without overpowering. 
View from the back
It's also has a big fluffy pom pom on it!!


A little announcement, I going to be a vendor at a local Fair in July, I'm really pumped, I can't wait to go out and met some lovely people.  There's also an all day concert going on too, so I might find some good bands.

I'll keep you posted on details of that.  


Later Days


Tuesday 4 June 2013

Tutorial- Paper Lantern


This project is very fun and easy to make, it can be done with kids because the main component is drawing.

Materials:
-Paper, I used a thick tracing paper from my local craft store.
-Drawing implements, pens, markers, crayons, pencils
-Four wooden kebab skewers
-Four Beads
-Ruler
-Scissors
-Hot glue gun


So today the weather was really nice so I toke this project outside, here's all the stuff I'm using to draw my pattern on to the lantern.  I wanted to do some mandala's but I don't know how to do them so I printed some from the internet.  


So I toke my paper and measured out 5 inches because I wanted my lantern to be that high, I marked it with a pencil and cut it out, you make your lantern what ever size you would like.  

So just start drawing, do whatever you want along the paper.  
  

Here's about halfway through 


This is mine ones I was all done, I think it's nice from a distance but up close you can sorta see where I messed up.  From this part be careful not to smudge, especially if you're left handed.      


Now it's time to turn this pretty drawing of yours into a lantern... 

 Plug in your glue gun, so that it can heat up while we work on the next step.


Flip your piece so that your drawing and fold it in half, then unfold it and fold into quarters. 


Take your skewer and measure two inches more then the height of your paper, (one inch for each side of it), and cut there.  I try to score the wood and then snap it, it works for me, but use the system that works for you.

Hopefully by now your hot glue gun is ready, now put some glue into the center of your bead, and then take your skewer and place it in the glue, wiping away excess. Be careful with this, because it's hot.  If you're doing this project with kids, you should do this step.

It will look something like this

Now with your glue gun, you'll place glue on the skewers on the sections that will be in contact with the paper, so leaving the top and bottom inch clear.  Then place into the fold of your lantern.

For the last side glue it as close to the edge as you can than sorta fold the paper on to it, then put glue over this and take the other side and place it over.
 Stand it up and you'll have a nice lantern.

Here's mine:


Please keep an eye on your lantern when using it, because you know that paper and fire don't always get along. I use a battery powered tea light, so that is not as much of a problem.


Here's a taller one I make last year.

Leave an questions in the comments and I hope you have fun.

Zoe